How to take superb photos to promote your heritage venue, site or group
“In the right light, at the right time, everything is extraordinary." Aaron Rose
Smartphones today can take amazing photos – but knowing a few simple photographic tips can help you capture images that really stand out and tell your story.
If you have a DSLR camera and know how to use it, even better! Have professional shots, better still! But not everyone has access to that sort of equipment or budget!
Whether you're promoting a museum, art gallery, historic house, heritage site, archive, local event, community group, talk or tour, great photos can make all the difference.
Here's how to get started:
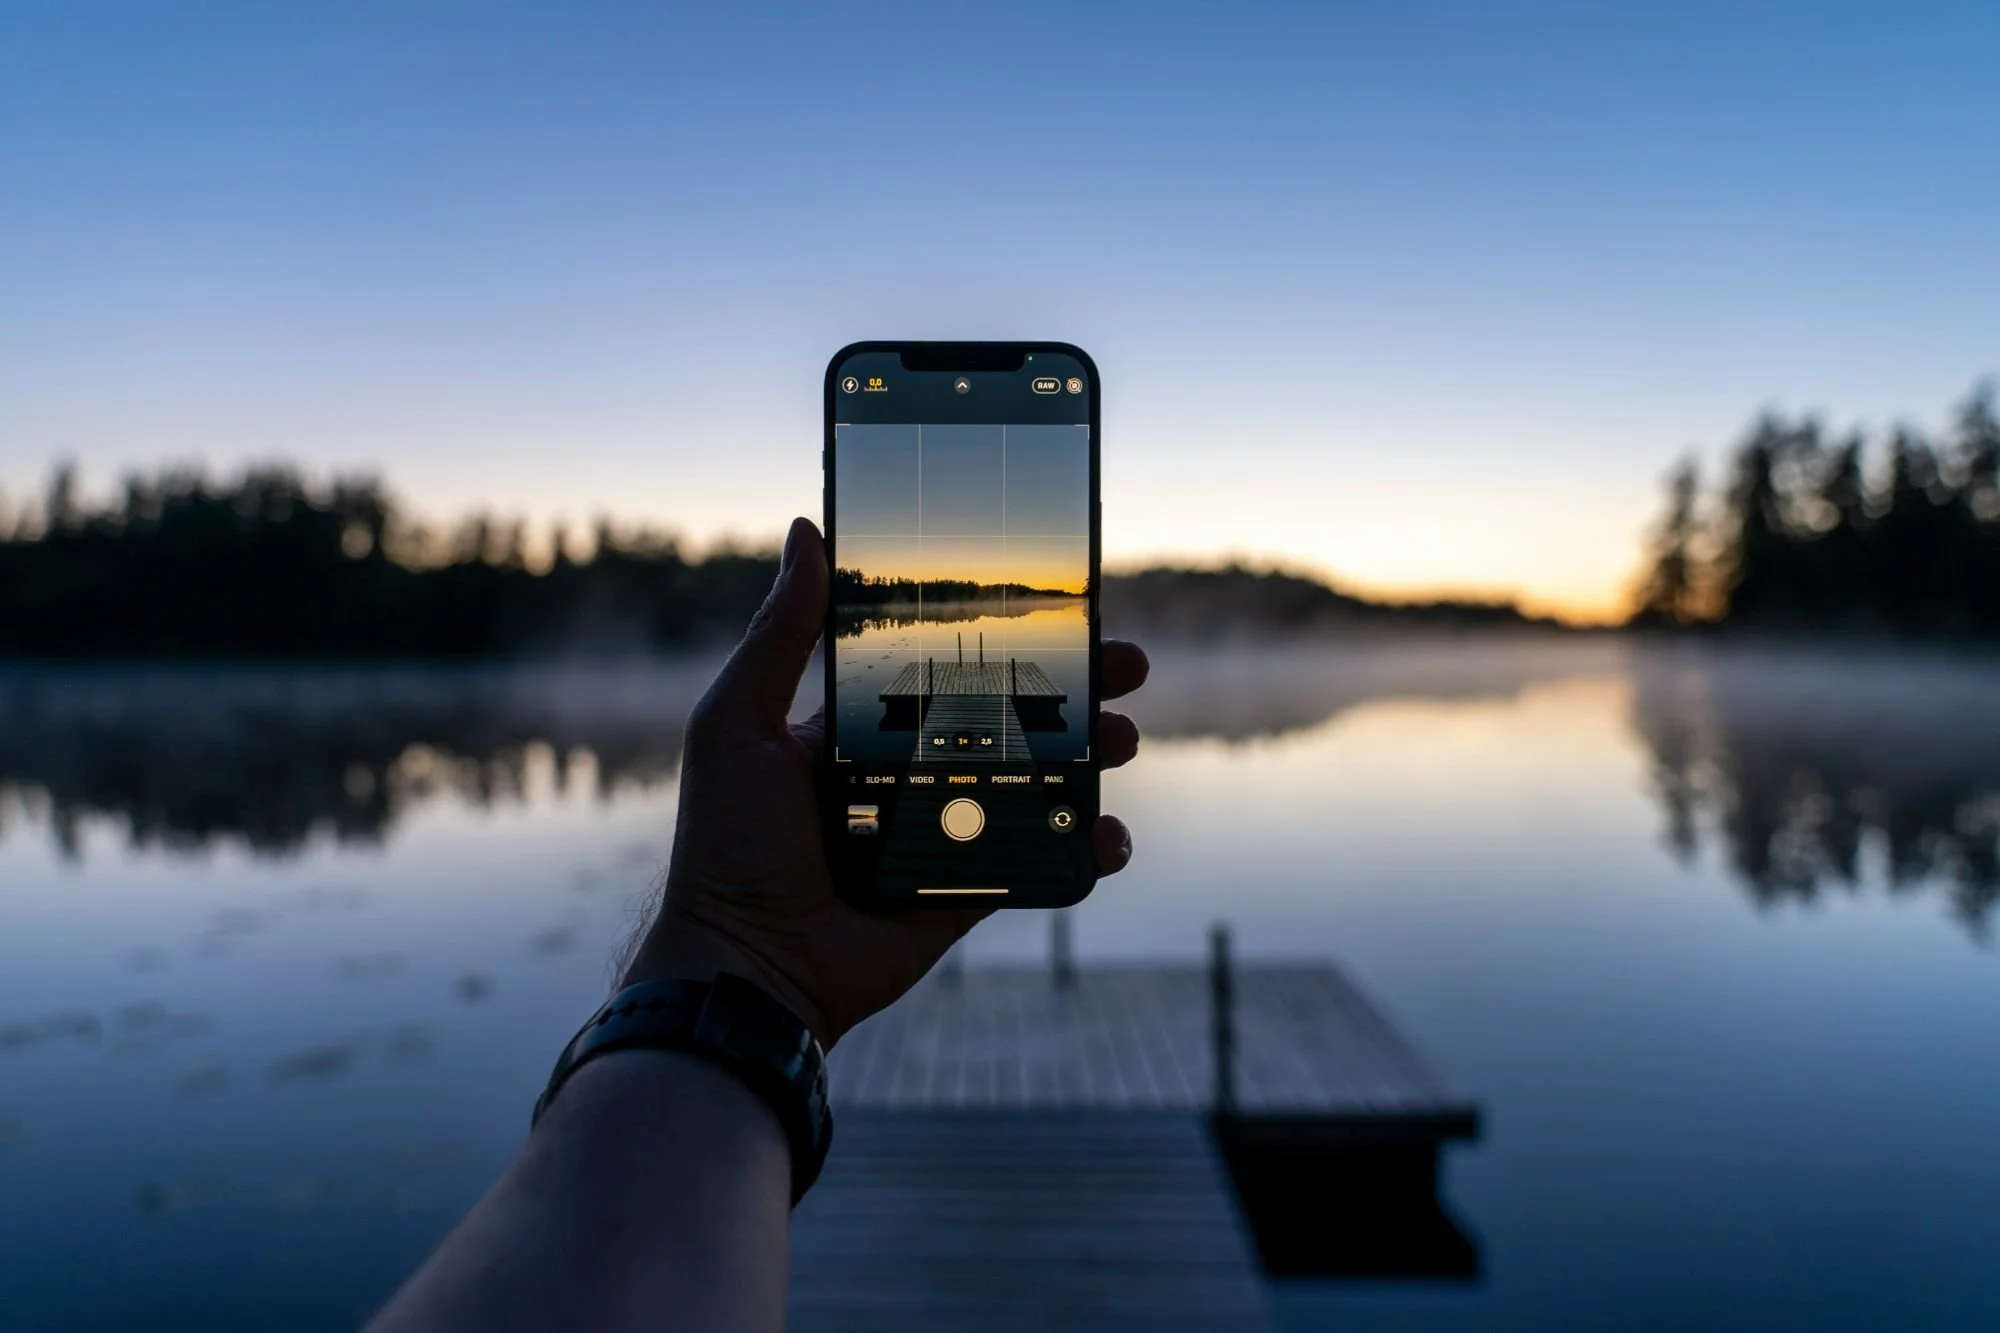
Use high-resolution settings
Before you start snapping away:
Go into your phone’s camera settings. Make sure the resolution is set to high or maximum quality.
Avoid using zoom – it can reduce image quality. Instead, move closer to your subject.
High-resolution images look sharper and are better for websites, social media, and printed materials.

Use natural light where possible
Lighting can make or break a photo. Natural light:
Gives a warmer, more authentic feel
Helps colours look true to life
Avoids the harsh shadows and glare that flash can cause
Tips
Take photos near windows or outside.
Early morning or late afternoon light is softer and more flattering.
Avoid strong midday sun – it can create harsh shadows.
If indoors, turn off the flash and let natural light do the work.
Think about what you’re showing
Ask yourself:
What story do I want this photo to tell?
What’s the most interesting or unique part of this scene?
Focus on:
Details – old signs, carvings, tools, costumes, etc
Atmosphere – lighting, shadows, textures
Action – people interacting with the space or each other

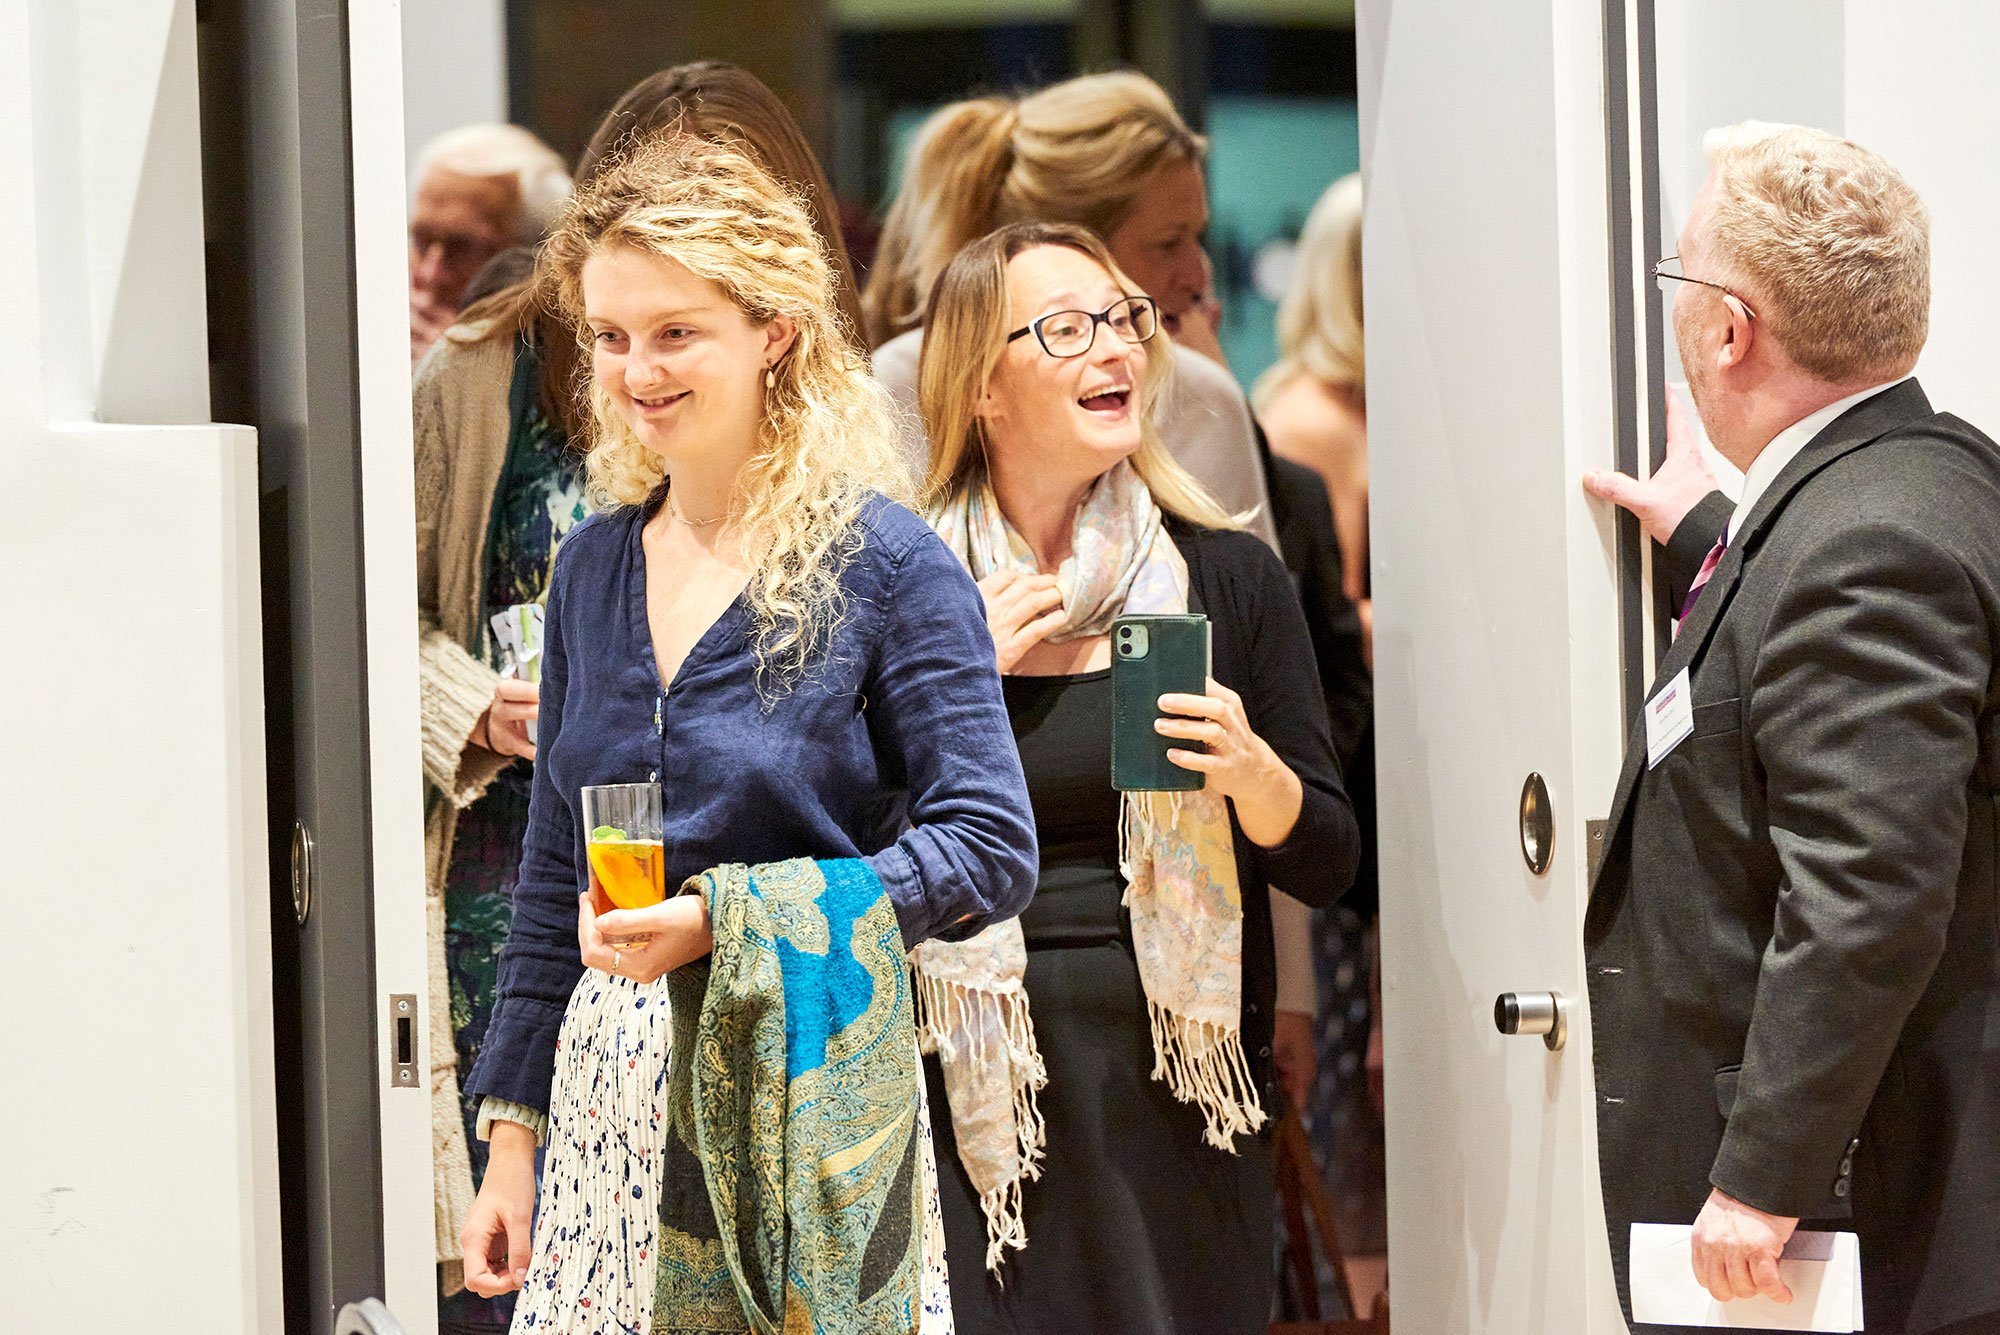
Include people in your shots
Photos with people:
Feel more welcoming and relatable.
Help viewers imagine themselves visiting or taking part.
Add scale – showing how big or small a space or object is.
Try capturing:
Visitors exploring
Volunteers in action
Groups enjoying an event
A diverse audience – if people can’t see themselves included, they might not engage with you
Just make sure you have permission to use their image if it’s for public use.
Frame your shot carefully
Good framing makes a photo more powerful. Here’s how:
Use the rule of thirds: imagine your screen split into nine squares. Place key subjects along the lines or where they meet.
Keep the horizon straight.
Avoid clutter – move around to find a clean background. (Move any unsightly objects out of the shot first, if you can.)
Try different angles – crouch down, shoot from above, or look for reflections.
Ideally, keep the sun behind you, so that you get the best colours and blue skies.
Mix landscape and portrait formats
For the Forum’s website:
Landscape (horizontal) images work best for banners and headers.
Portrait (vertical) images are great for articles and social media.
Take both formats if you can – it gives you more options later.
Throw in a few square ones too, if you like!

Edit lightly
You don’t need fancy editing apps. Most phones let you:
Brighten or darken
Crop
Straighten
Boost contrast or sharpness
Keep edits natural – you want to show the real charm of your venue or group.

Final tip: practice makes perfect
Take lots of photos. Try different times of day, different weather, and different events. The more you experiment, the better your photos will become.